Getting started
Install Celestine, set up the essentials and publish a store that looks finished on day one.
Celestine is a Shopify theme for skincare, makeup and other considered product ranges. Everything in this guide happens in Online Store → Themes → Customize (the theme editor). You don't need code or apps.
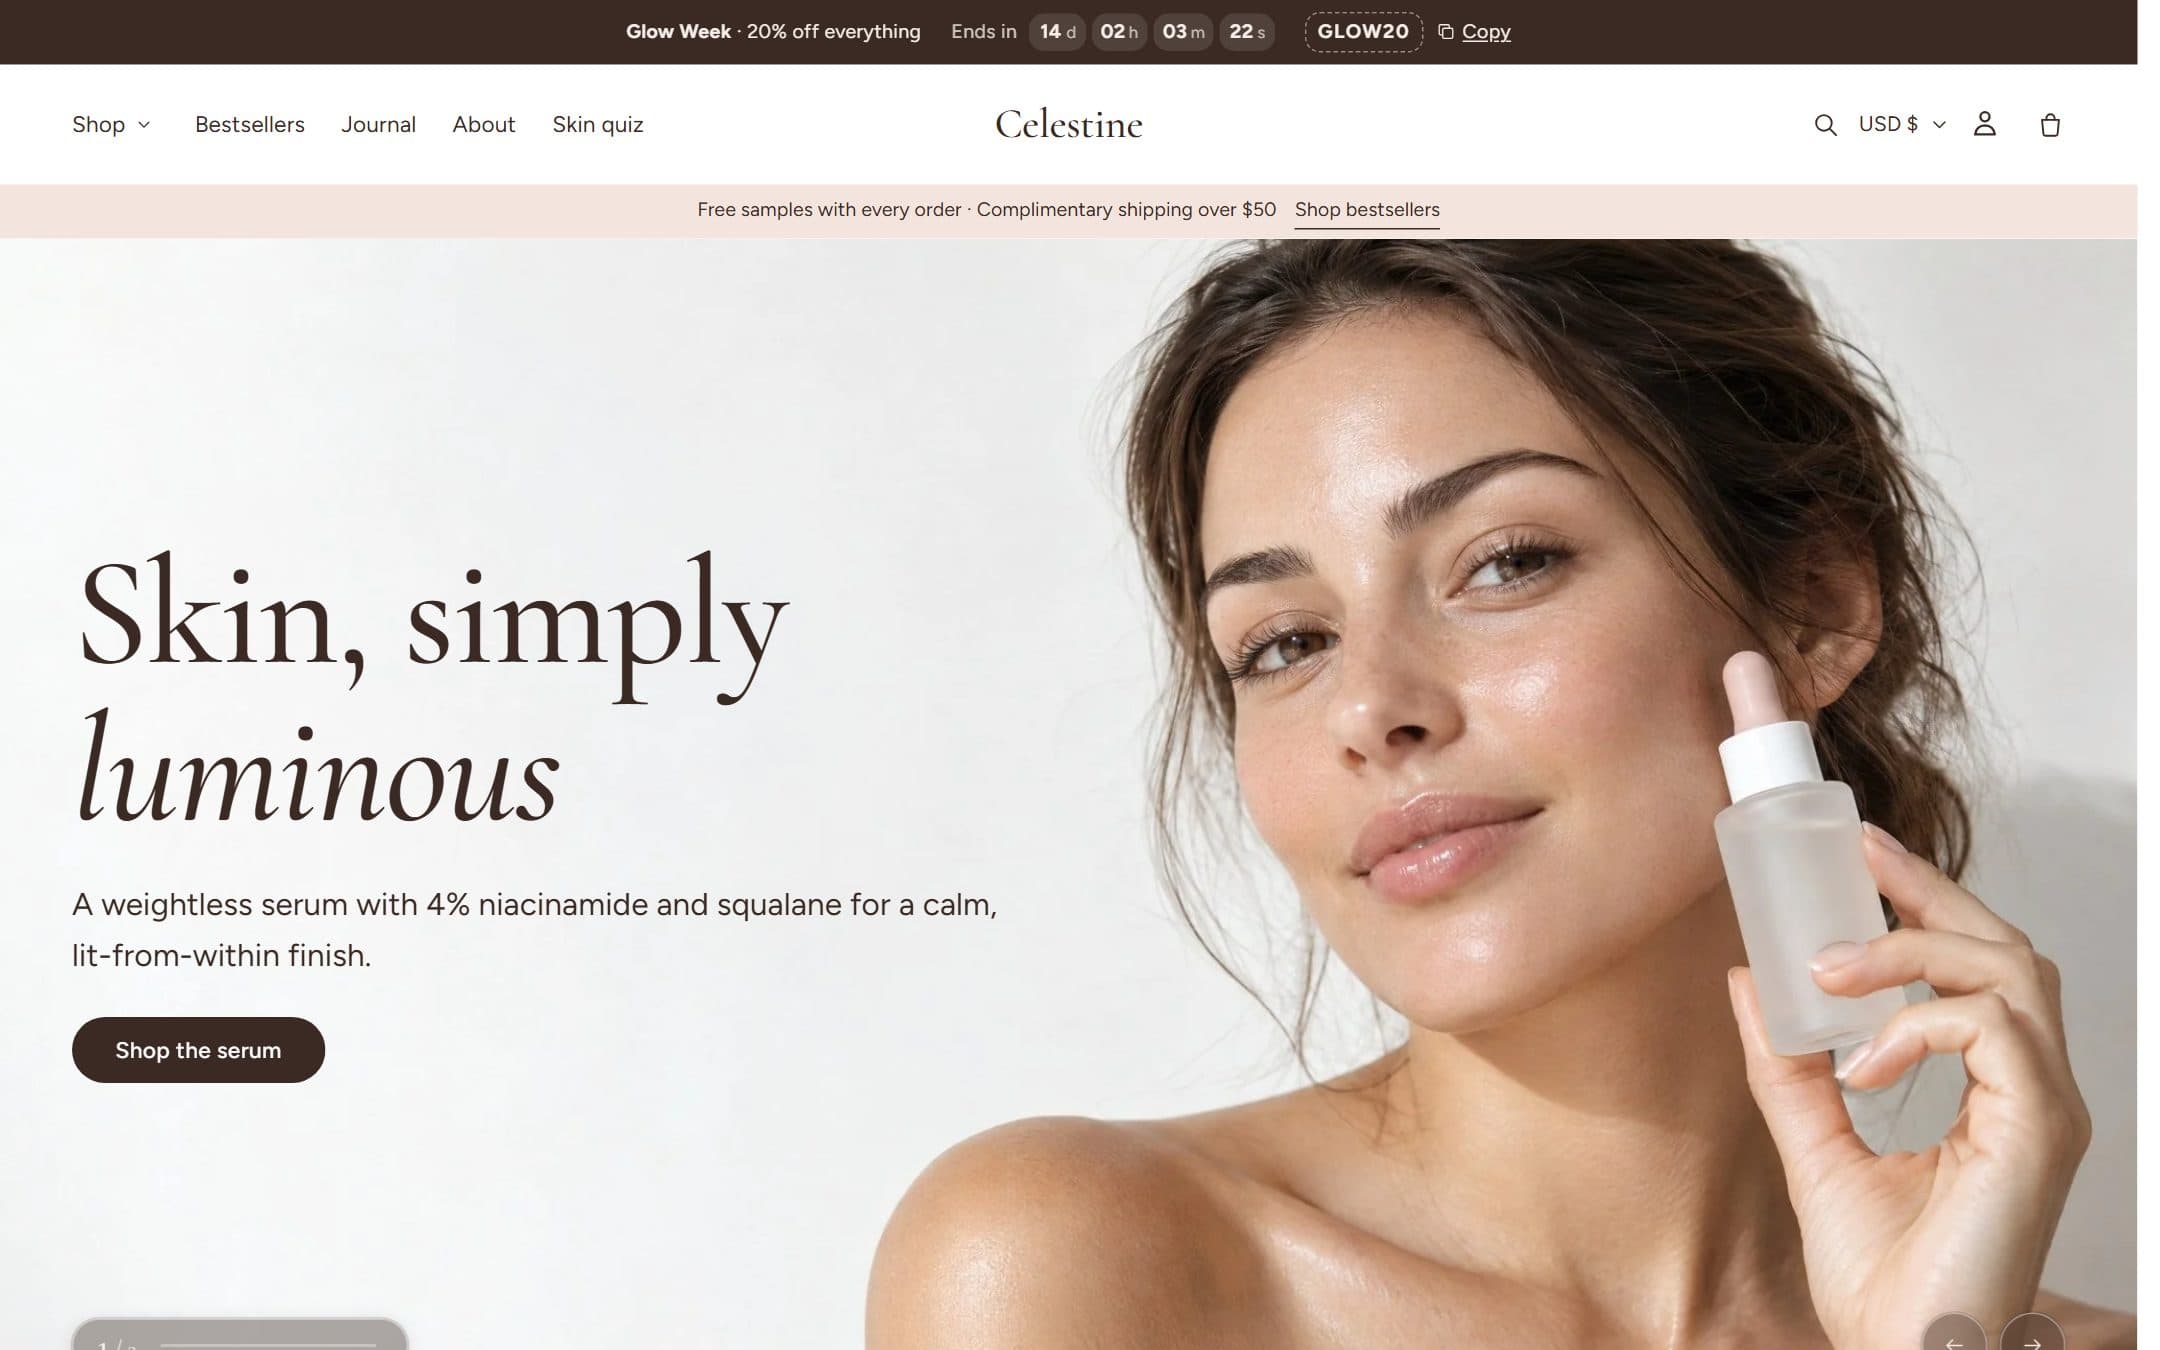
Install the theme
- 1Add Celestine to your store from the Shopify Theme Store (or upload the theme file you received from us under Online Store → Themes → Add theme → Upload zip file).
- 2Click Customize to open the theme editor on the unpublished copy. Your live store isn't affected until you publish.
- 3When everything below is done, click Publish.
First-day checklist
Work through these in order. Each step links to the page that explains it in detail.
| Step | Where | Why it matters |
|---|---|---|
| Upload your logo and favicon | Header section · Theme settings → Logo and favicon | Your brand on every page and in the browser tab |
| Set colors and fonts | Theme settings → Colors, Typography | Every section reads its colors from the schemes, so this restyles the whole store at once |
| Connect your menus | Header section → Menu · Footer → Menu blocks | Navigation, mega menus and the mobile drawer all come from Shopify menus |
| Build the home page | Home page template | Replace the demo images and copy section by section |
| Check the product page | Products → Default product | Choose which blocks show and in what order |
| Set up filters | Shopify Search & Discovery app | Filters only list what you enable there |
| Turn on cart rewards (optional) | Theme settings → Cart | Shows progress towards free shipping or gifts |
| Add your SEO basics | Online Store → Preferences | Home page title, meta description and the social sharing image |
How Celestine is organized
- Theme settings (the paint-brush icon) control store-wide design: colors, fonts, shapes, animation and cart behavior.
- Sections are the building blocks of each page. Add, reorder and hide them in the left sidebar.
- Blocks live inside sections: headings, text, buttons, slides, questions and so on. Many can be nested.
- Templates decide which sections a page type uses. Create extra templates (for example a different product layout) under Templates → Create template.
Tip: changes in the editor are saved to the theme you're editing only. Duplicate your theme before large changes so you always have a fallback.